Creating a Terrain for Unity 3D with Photoshop
Terrains in Unity may be created from height maps designed with Photoshop.
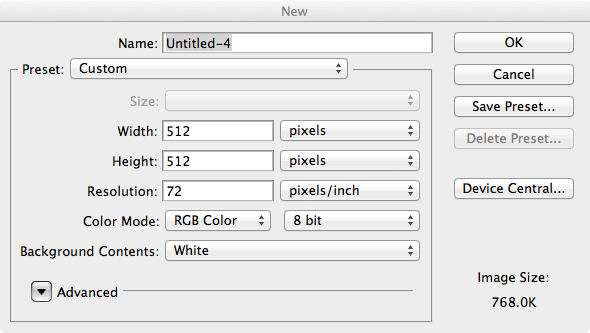
Height maps should be sized to a power of two plus one (65, 129, 257, 513, 1025, 2049 in pixels) for width and height.
In Photoshop, start by creating a new image by File » New
Adjust foreground and background colors to height thresholds. Lighter colors will raise elevation to peaks, while darker colors sink to origin.

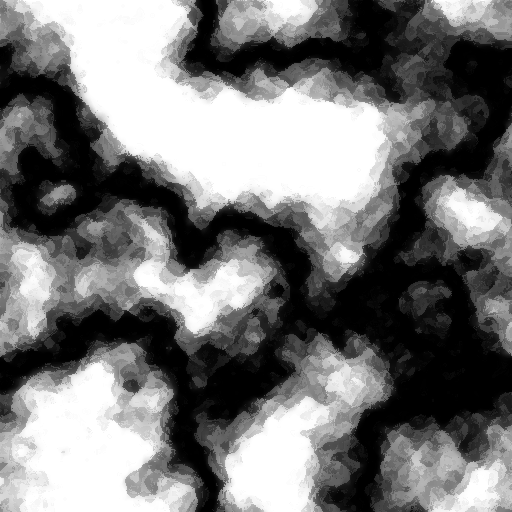
Seed the terrain height map by rendering clouds. In Photoshop, select Filter » Render » Clouds.

This alone may be used to generate a terrain.
Applying additional filters may enhance the terrain, such as adding difference clouds in Photoshop by selecting Filter » Render » Difference Clouds.

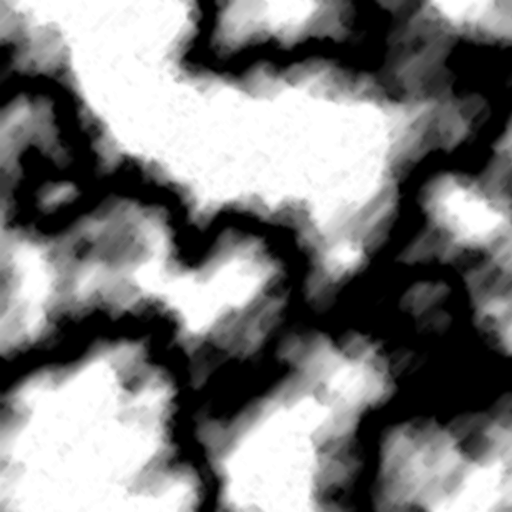
Further enhance by applying Photoshop’s Plastic Wrap filter:

Numerous filters enhance a terrain, such as:



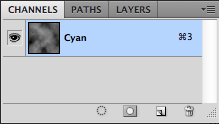
Unity imports terrain height map data as Photoshop Raw with a single channel.
In Photoshop, remove all channels except one.
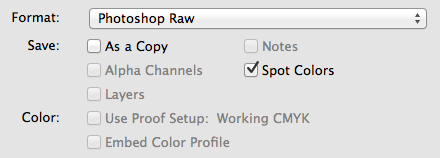
In Photoshop, save as a Photoshop Raw (.raw) file.

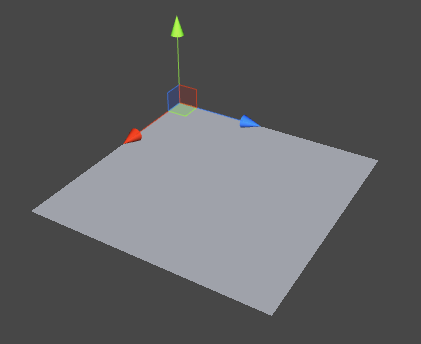
In Unity, create a new terrain selecting Terrain » Create Terrain

This will create new terrain asset in Unity.

In Unity, import the raw height map by selecting Terrain » Import Heightmap — Raw… and select the Photoshop raw image.


In Unity, the terrain will reflect the height map.

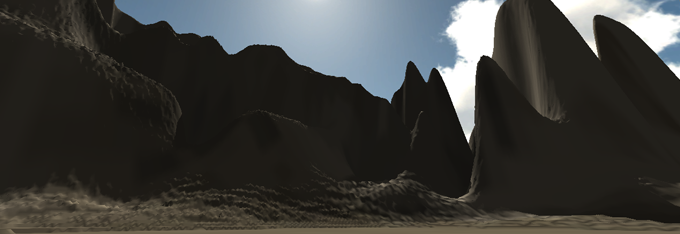
Flattening the center of the texture and painting texture, here is an example desert scene.


