Using JetBrains Rider with Unity

JetBrains Rider introduces deep integration with Unity, especially on macOS where equivalent features of Visual Studio are not available.
First, assure JetBrains Rider is installed — a 30-day free trial is available for evaluation.
Within Unity, from the menu select Unity » Preferences:

In the Preferences dialog, under the External Tools group, change the External Script Editor to Rider.
Then, from the Unity Project window, right-click and select Open C# Project:

Rider and Unity will now be synchronized with project editing.

Alternatively, opening the solution directly in Rider enables Attach to Unity Editor

If you see an alert stating:
Unity features unavailable — Make sure Rider package is installed in Unity’s Package Manager and Rider is set as the External Editor. Reopen Rider from Unity.
This indicates the Rider package in the project may be outdated. This will likely occur when opening older projects, or potentially after updates.

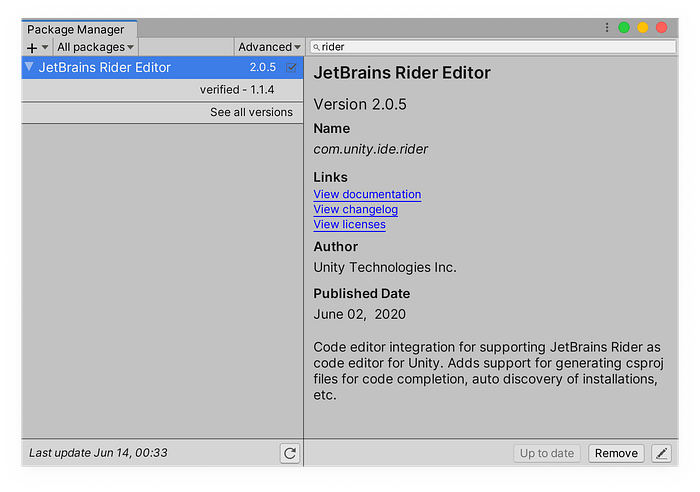
In Unity, go to Window » Package Manager and search for Rider to install the latest Rider plugin.